
Streamline Your Content Publishing with Vocable’s Channels Integration Suite

Iman OubouJanuary 14, 2025 4 min read
Share this article


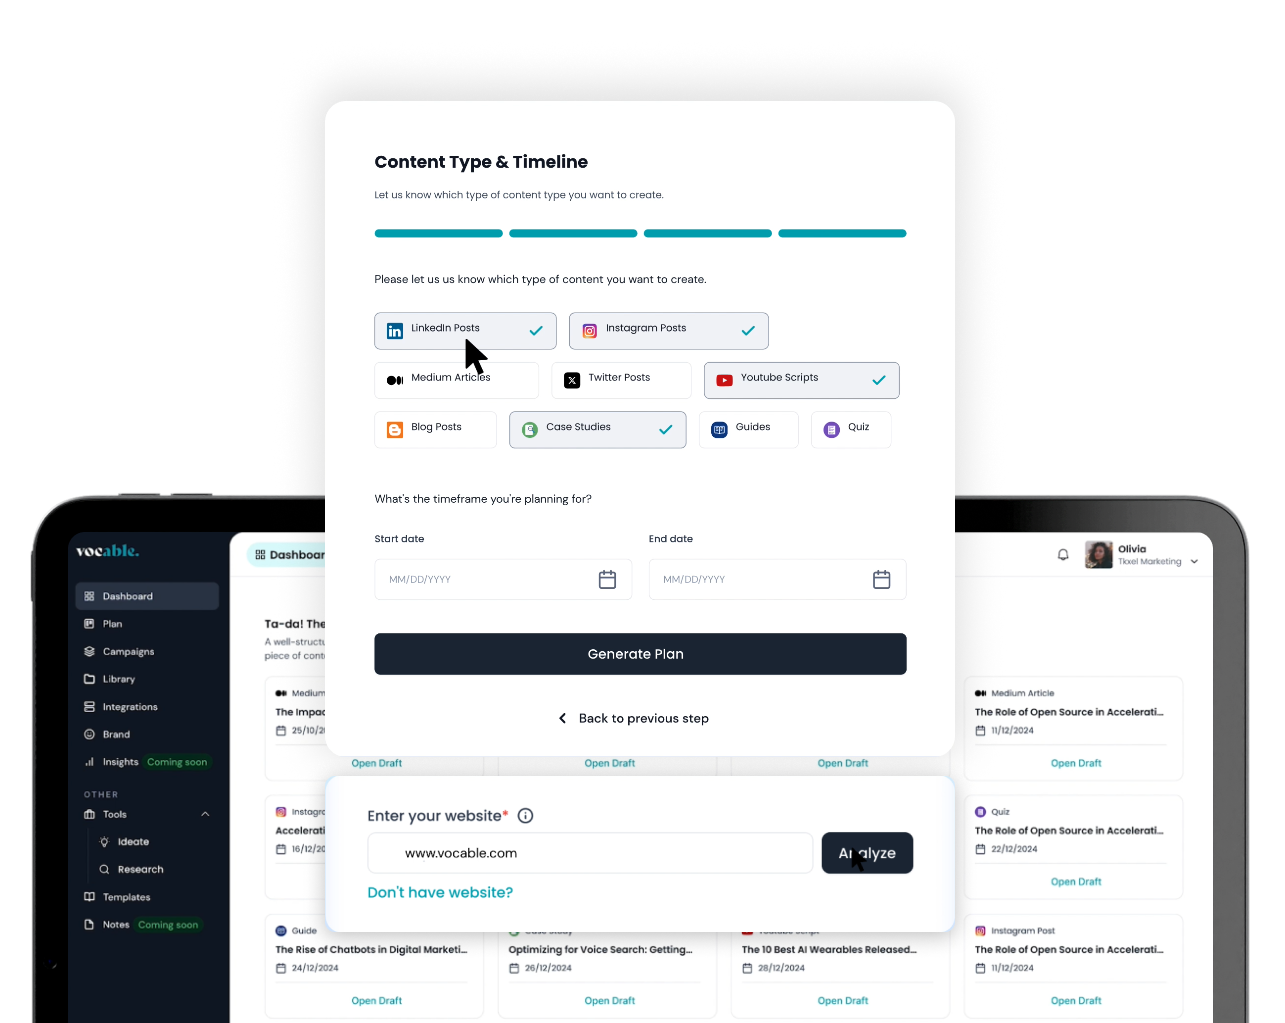
In a significant update to our platform, Vocable.ai has expanded the integration capabilities, allowing content creators and marketing teams to publish directly to major content management systems and social media platforms. This comprehensive guide walks you through the integration process for each supported platform, helping you streamline your content distribution workflow.
How to Connect Your WordPress Blog
WordPress users can now seamlessly connect their blogs to Vocable.ai for direct publishing. From adding the integration to submitting the details, follow these engaging steps to streamline your publishing process to wordpress efficiently.
- Under your integrations tab, click on “Add integration” or the plus button on the bottom right
- Proceed by clicking on the WordPress logo.
- Enter your blog name
- Provide your WordPress username (this is the same username you use when logging into your wordpress).
- Provide your blog link, make sure to write the full URL, including the https
- For this step you need to head over to wordpress to generate and copy your application password.
- Once on wordpress, clikc on “users” on the left navigation bar and then click on “profile”
- Scroll all the way down until you see the section called “Application Passwords”
- Under that, type up what you want to name your integration, for example “vocable Integration” and then click on “Add New Application”
- Your new password for this integration will be generated. Click “Copy” to copy the full password
- Now go back to your vocable’s integration window and paste your new application password and hit submit
- You will then see your new wordpress integration appear as active
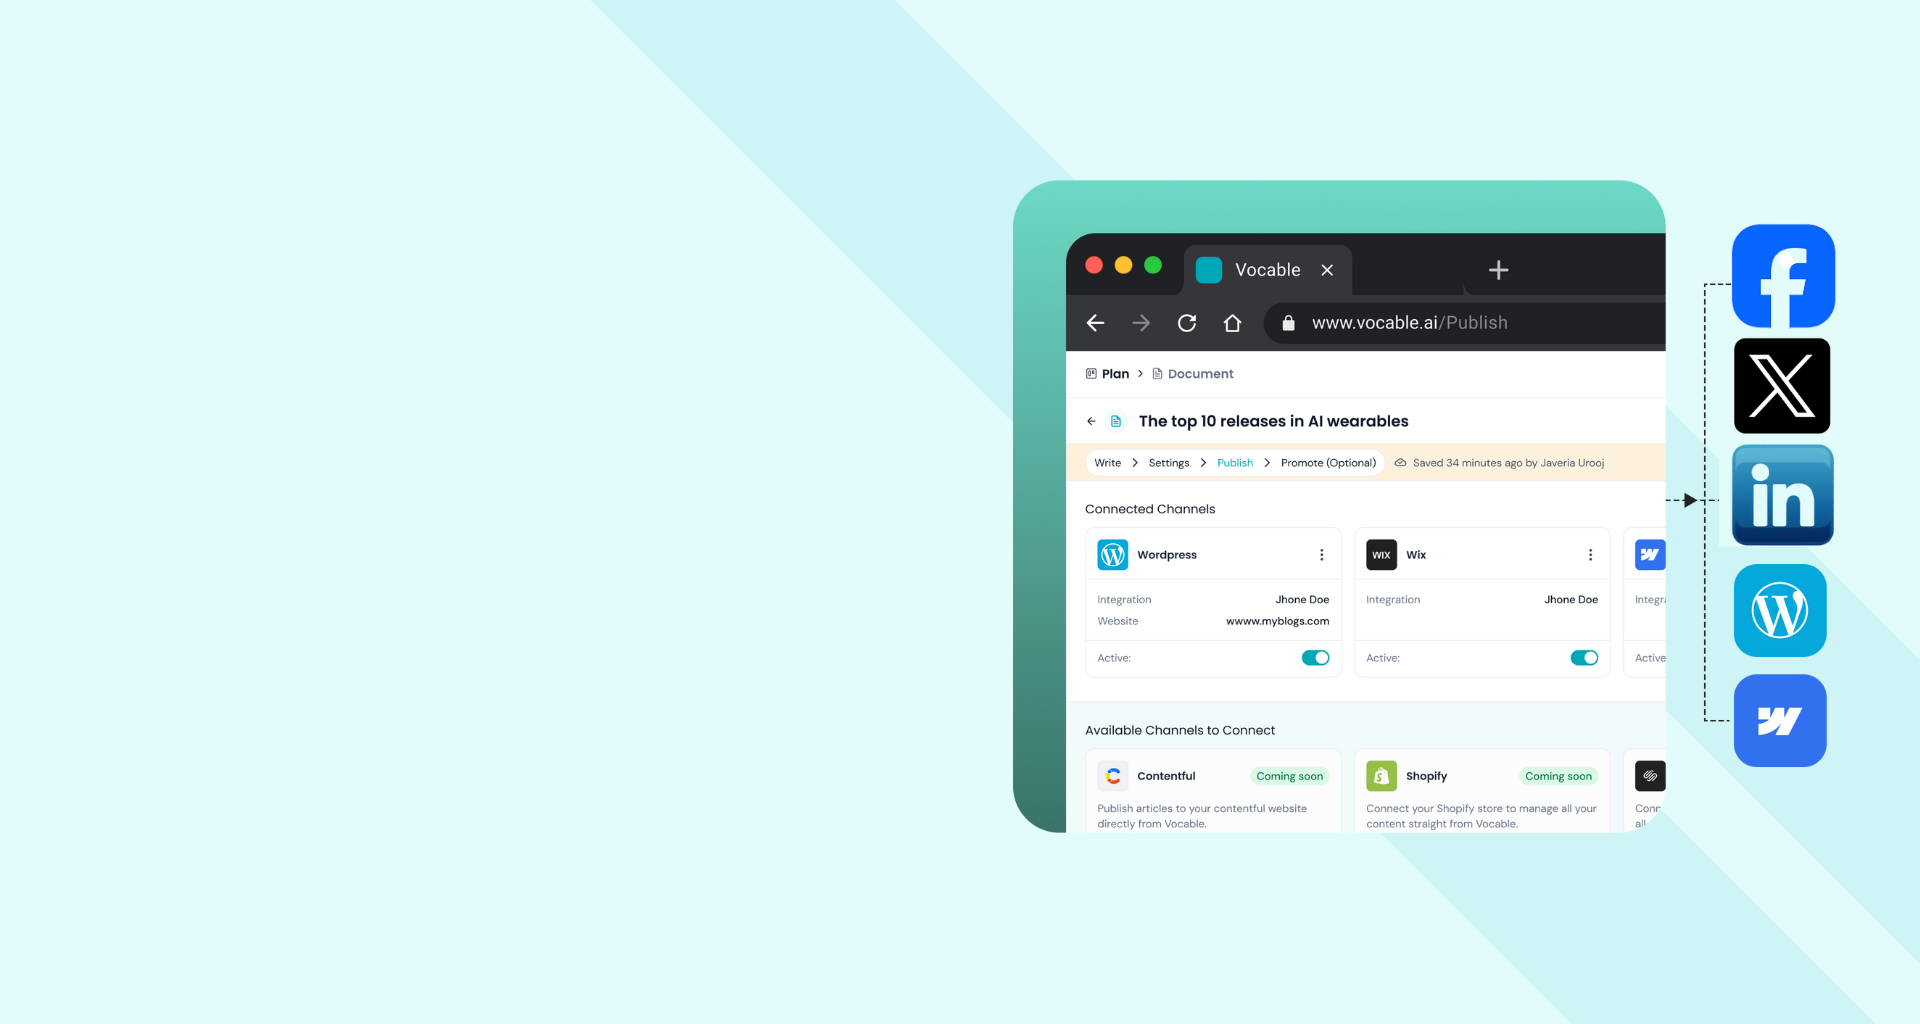
- When you’re ready to publish a draft to your new wordpress blog
- You can select it under your ‘connected channels’
- And fill out your post settings accordingly
- Then under publishing settings, you can pick either publish to publish your post immediately
- Or you can Click “Draft” to send your post to wordpress without publishing
- Then click “Publish”
- Et Voila.. your post is then published or sent as a draft successfully to your wordpress
How to Connect Your Wix Blog
This guide will walk you through the process of integrating Wix into Vocable to publish directly to your blog.
Go to vocable.ai
- Access the Integrations section in your left navigation bar.
- Click the bottom right + sign to add a new integration.
- Click on the Wix logo to proceed with integrating your Wix CMS.
- Give your integration a name. This could be the same name as your blog.
- For the next three steps, you need to head to your Wix settings to retrieve all the IDs
- In your wix dashboard, navigate to your top right avatar then click on “Account Settings.
- Navigate to the left navigation bar, and click on API Keys.
- Initiate the process to generate an API key by clicking “Generate API Key”.
- Make sure you allow all permissions by checking the first box.
- Then click on generate your API key in the top right.
- Once the API key token has been generated, click on “Copy Token & Close” and make sure you paste it somewhere in your Vocable wix integration pop up.. Also paste this key in your notes so you can have it stored. Once you close out you can’t go back and copy it again.
- You will also notice that your user’s account identification has been generated on the right hand side. Click Copy ID and paste that into your vocable wix integration pop up.
- Now let’s retrieve your website identification by first clicking on “all sites” in your wix dashboard.
- Select the blog you are integrating onto Vocable.
- Find your website ID inside your URL, as seen here, then copy and paste that, into your Vocable wix integration pop up.
- So to recap, you should have your API key and user’s account ID from the account settings on Wix, then your identification of the website from your URL, all pasted in Vocable’s wix integration pop up. Now hit submit and your wix Integration should successfully activate.
This guide covered the steps to integrate Wix into Vocable. If you have additional questions or encounter any issues, please email support@vocable.ai
How to Connect Your Webflow Blog
Webflow integration requires specific credentials and follows a different setup process:
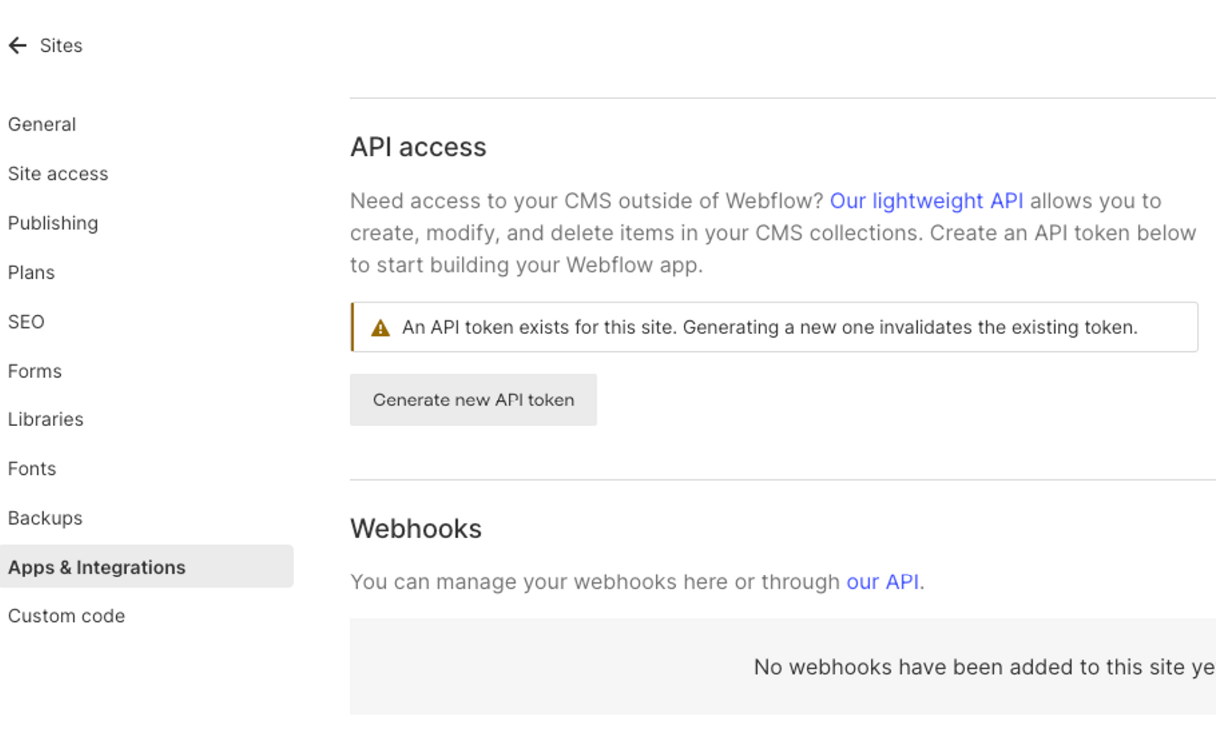
Step 1: Obtain API Credentials
- Generate API Access Key
- Go to “Sites” section
- Choose the specific site you are looking to integrate
- Navigate to “Settings”
- From the menu, select “Apps & Integrations”
- Proceed to generate API token
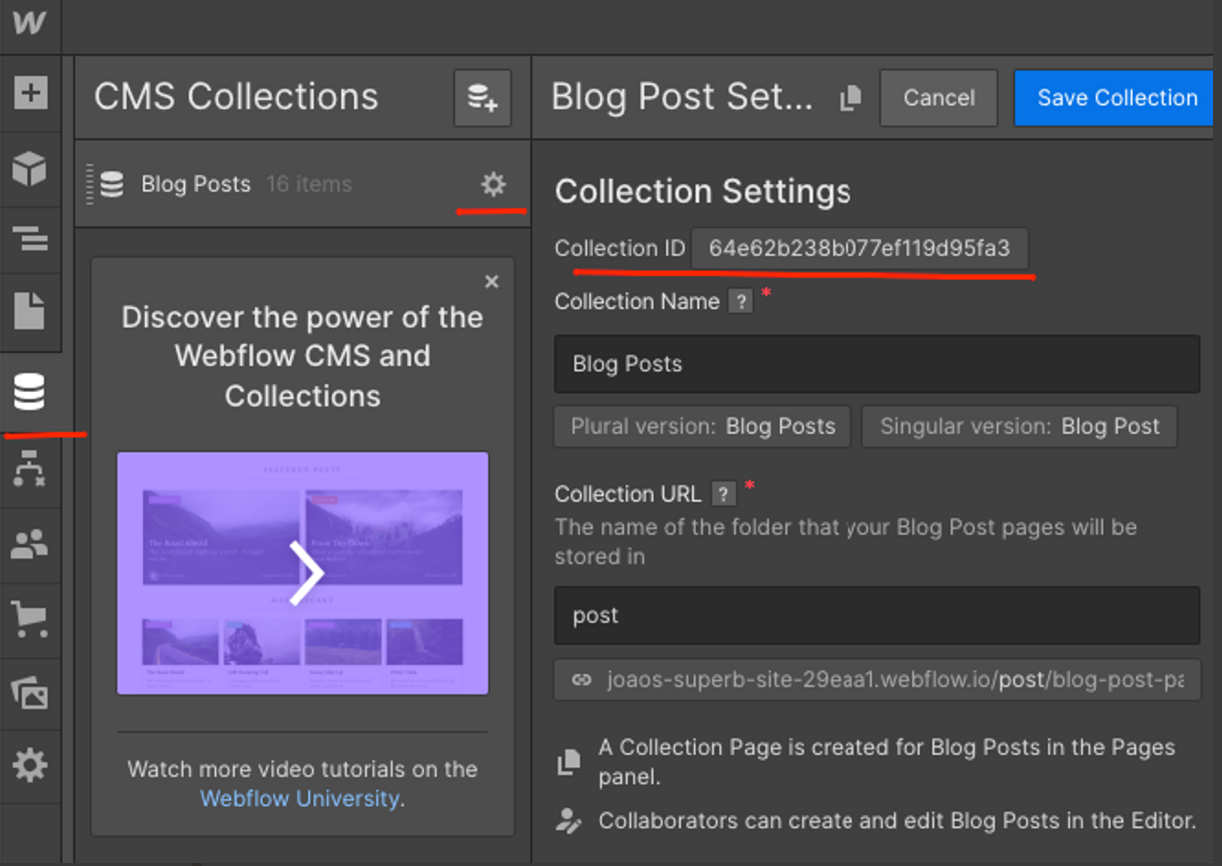
- Locate Collection ID – This collection serves as the identification for the blog where we intend to publish. To obtain this, follow these steps:
- Access the “Edit Website” Section
- Select the “CMS” option
- Open blog “Settings”
- Copy “Collection ID”
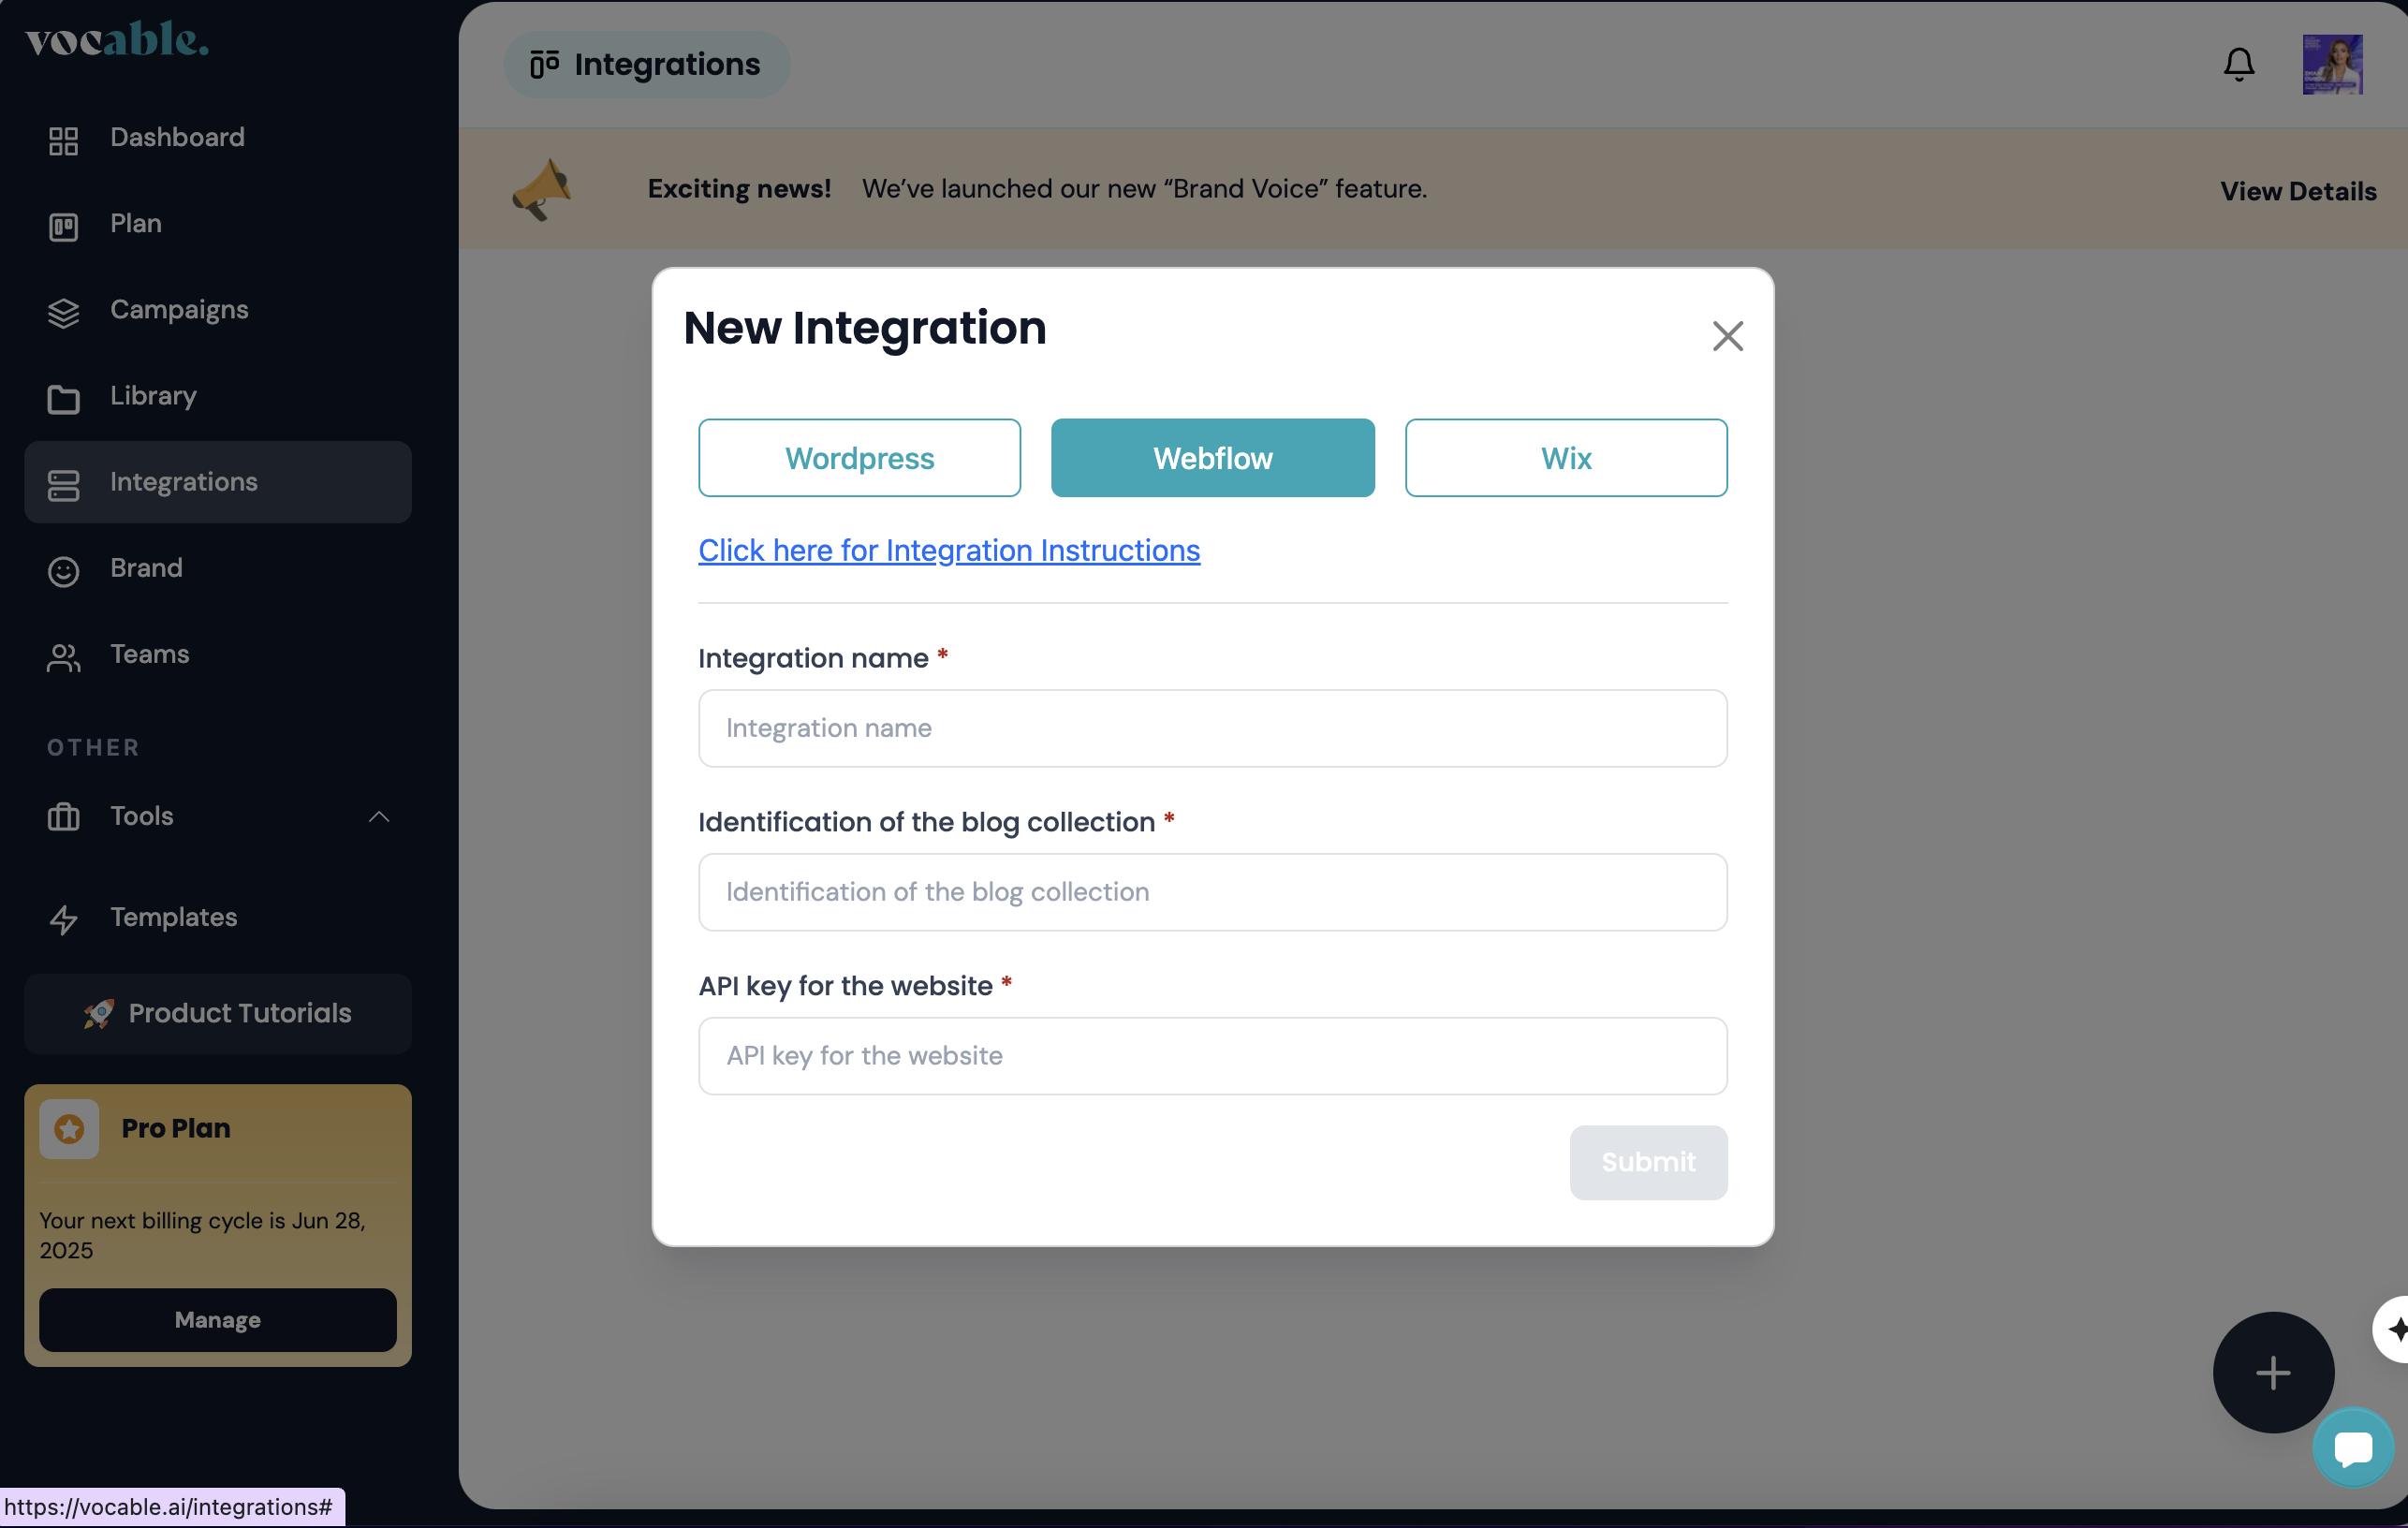
Step 2: Initialize Integration with Vocable
- Open your “Dashboard”
- Navigate to “Integrations”
- Click “Add CMS”
- Select “Webflow”
- Enter your ID Collection and API credentials
How to Connect Your Linkedin and X Channels
Go to your Vocable.ai dashboard and navigate to the “integrations” tab:
- Once you’re in the integrations tab, click on the (+) sign on the bottom right.
- Then click on the Linkedin or X Logo
- Fo Linkeding, choose “Profile” if you are connecting an individual Linkedin profile. If you are connecting a business page, choose “organizations”
- Type in your login credentials as if you are logging into your channel
- Then proceed to “Sign in”
- And finally select the “Allow” option
- And there you go…! Now your connected Linkedin or X channel appears on your integrations as active. You can now select it whenever you’re ready to publish a post.
Get Started with Vocable
Master every aspect of Vocable, from automated content planning to publishing in these step-by-step tutorials and product guides.
Get Started NowRelated Posts
4 Min Read
 Iman Oubou
4 Min Read
4 Min Read
4 Min Read
Special Limited Time Offer
Start Using AI For Content Marketing In 7 Days with our Free AI Crash Course
Send Me The Free Email CourseWhat You Will Learn


Learn AI Content Marketing
With Real Examples
Build Your AI-Led Content
Operations Strategy
Access 4700+ Prompts
Database
Bonus #1
4,000+ Prompts for Content Marketing
Bonus #2
List of AI Content Marketing Tools
And Get Answers to Your AI Content Challenges
Join Vocable's AI Content Creator Community